12.20.2013

CHRISTMAS CARD!!!

Welcome back fellow crafters!! I haven't been able to post in a bit as work and my schedule have been NUTS!!! Retail...YAY!! I miss my weekly design team projects for Regina at The Cutting Cafe! But I'll be back soon as I made it back on her design team!!! YAAAY!!!!!!!

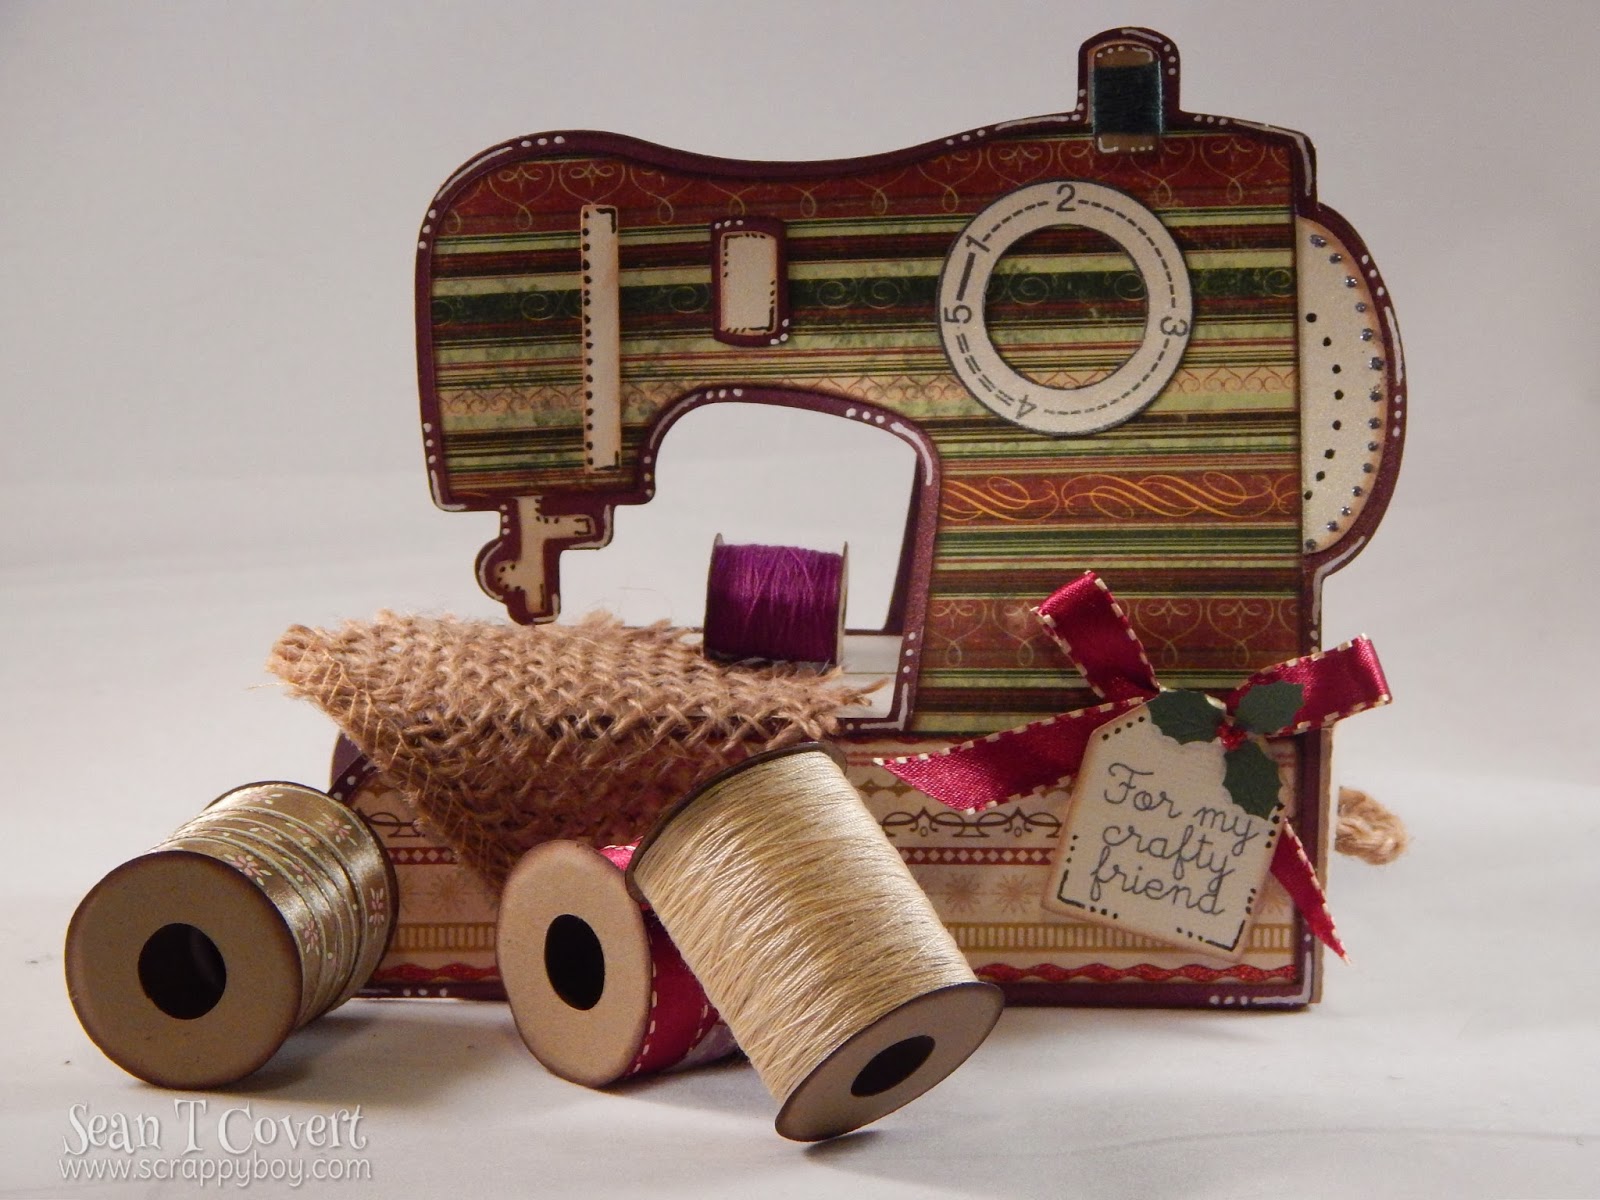
In the meantime I wanted to share the Christmas cards I sent out this year! They are super cute! I was having a hard time figuring out what to do for my very first hand-made Christmas card. I was pinning like crazy looking for just the right card. Then I got my issue of Paper Crafts Magazine and right on the cover was the card! Check it out!


SUPER CUTE RIGHT!?! I just LOVE it!!! If you get paper Crafts magazine it's on pg. 36 of the digital issue!! I had soo much fun with this! 


The file for the typewriter is a Silhouette file. I didn't have one of those machines but I was playing around and figured out how to convert it so I could use it in SCAL. Man was that a headache!!!!  So on black friday I got a Silhouette machine so I'm able to use their files too! YAY!!

The sentiment on the inside is from Unity Stamps. I just found their site and I LOVE their stuff!!!


I always hate writing in my cards as I feel like my chicken scratch ruins the card! But someone told me that it's more personal so I do it; and I always sign the back of my cards.


I had sooo much fun making this card and I love the response from the people who I sent them too! Makes me feel like I made the right choice!! Here's one more look!


Hope you enjoy!!! Merry Christmas everyone!!!!!


12.03.2013

AND THE STOCKINGS WERE HUNG BY THE CHIMNEY WITH CARE!!

Welcome back fellow crafters!!! Hope everyone is enjoying the hustle and bustle of the Holiday season!! I know I am! This is my favorite time of year!!! Other than the fact that I have to work like a dog the last 6 weeks of the year!! Hehe. 

On that note, please forgive the fact that my projects aren't as detailed as in the past; I'm working 6 day weeks and am always out of time! BUT...it'll soon die down and I'll be able to focus more on my projects!! YAY!!!

It's been so crazy that I haven't even had the chance to plug in my new Pazzles Inspiration that I got for my birthday back in September!! I just can't wait to play with it!!! Plus, I got a KILLER deal on a Cameo on Black Friday!! Is it sad that I now have three cutting machines?!?! I don't think so!!!

Anyway, on to my design team project for Regina at The Cutting Cafe!! For this weeks project we were able to work with Stocking Box TemplateChristmas Shapes Milk CartonCandy Cane Box Set and Christmas Bag Toppers. I choose to work with the Stocking Box Template. 


It's such a cute and fun file, plus it's super easy to put together! I found this fantastic Pearl Burgundy colored paper that I'm just OBSESSED with!!! I've used it in my last three projects!! 

The awesome bows on the box are also from The Cutting Cafe! They are called Loopy Loopy Bow..Flower Template. I LOVE THEM!!!! They are SOOOO much fun to work with!!!! The tag and sentiment are also from the Stocking Treat Box.


I found the holly in the Pazzles Craft Room. I'm still not familiar how all their stuff works but come January I'll be able to play LOTS more!


I hope you enjoy my project, and again please forgive the fact that they're not coming out as detailed! But hey, they're still super cute!!! Kinda hard not to be cute with these files! Regina at The Cutting Cafe has it down!!! Her files ROCK!!!!

Be sure to jump over to this week's inspiration post at the Cafe to see the other Design Team member's projects! If you leave a comment on the post Regina will pick someone to win FREE FILES!!!!

Hope you enjoyed my project and HAPPY HOLIDAYS!!!!

11.26.2013

SEWING MACHINE BOX

Welcome back fellow crafters!! Soo....anyone going to hit up some Black Friday sales??? I KNOW I AM!!!! HEHEHE.... I love the Holidays!!!

This weeks Design Team project for The Cutting Cafe was a free week!! We got to work with whatever file we wanted to! YAY!!! I chose to work with one of Regina's new sets, Sewing Machine Set

This file is SOOOO cute and SOOOO fun to work with!! It has a couple different options, you can do a sewing machine shaped card or a sewing machine box. MAKE THE BOX FIRST!!!! YOU'LL LOVE IT!!!! It even has small and large spools to make along with it!! How fun!!!! It also comes with some super cute crafty sentiments and various detail pieces to jazz up your sewing machine!

So here's my project. I made mine a Christmas sewing machine!! 


And here's where the box comes in!!!


Make sure you make it all out of strong paper!! 


The small burgundy spool is one of the pieces in the set and here are the larger ones that fit perfectly inside the box!


I really hope you enjoyed my project this week! Make sure you get to The Cutting Cafe Blog and leave a comment so you can be entered to win free files!!! Here's one more peak of my project. My boyfriend takes some great pics doesn't he?!?


11.13.2013

A CHRISTMAS STEP CARD!!

Welcome back fellow crafters!!! This weeks project for Regina at The Cutting Cafe was soo much fun!! We got to make step cards!!! Regina sent us Step Card Templates to work with! This set is AWESOME!!!! This set comes with five different step cards!! I don't know about everyone else...but I just LOVE step cards!!!! Here's mine...hope you like!!!


I LOVE IT!!!!!! I had SOOOO much fun making this card!! I also used quit a few other of Cutting Cafe files to create this one! For the house I used House Shaped Card. I added a few more windows including the two bigger ones for the bottom windows.


The two smaller Christmas trees are from Christmas Tree Trio Shaped Card and the snow mounds are the hills from Garden Stand Ups. The two big trees on the back of the card are from Christmas Tree with Presents Shaped Card. The wreath and yellow stars are from Christmas Colored Basic Images Stamp Set


The snowmen are seriously my favorite part of this card!! I just love them!!! They are from Snowman Family Shaped Card Set


Here's a close up of the small tree and the super cute Elisha Jean!! The Elisha Jean stamp is Christmas Elisha Jean and Friends Printable Stamp Set.

Here's one more peak at the completed card!


I really hope you enjoy this card!! It was soo much fun to make and LOTS of work! Hehe. I'm still working on my timing to make my projects. It tends to take me a long time still. How on earth am I going to get out Christmas Cards on time!?!?! Hehehe.

11.05.2013

A MASCULINE STATIONERY SET!!

Welcome back fellow crafters!!! I wanted to share this weeks design team project for The Cutting Cafe! This week we got a new file that Regina created! It's the Pizza Box Template. This was a really fun project to work with! At first I was a little worried about what to do but I think it turned out pretty darn good!!! I can't wait to see how the other design team members did their creations!! It's fun to get more inspiration!!!

I decided to turn the pizza box into a mans stationery set!! Here it is:


Cute right!?! I used a wood grain paper for the box and a bronze finish paper for the hinges, keyhole and monogram plate! 


The hinges are from Cricut Fabulous Finds Cartridge, the keyhole I found online doing a google search and the monogram plate came from The Cutting Cafe and is the Monogram Set and Stationery Box Set.


For the inside I lined it in a navy pinstripe paper. It reminded me of my suiting! The pizza box template also came with a divider and some boxes to put inside as well. I just used the divider. I also added a piece of the wood grain paper to the inside of the lid so I could put my addressed envelopes there before I send them out!


On one side you have the stationery and on the other side the envelopes. I added little moustache's to each note card from The Cutting Cafe Mustache Shaped Card Set! Turned out pretty darn cute!!!


There are three different cards in the set with four cards each. So there are four Thank You cards, four Congrats cards and four Correspondence cards!


I'm really happy with the way it turned out and have it right on my desk for my next correspondence!! Hehe!! Hope you enjoy and don't forget to get over to The Cutting Cafe and check out the other design team members take on the Pizza Box Template!!!

10.22.2013

HAPPY HALLOWEEN!!!

Welcome back fellow crafters!!! I'm VERY sad to say that this is my last Halloween project this year :(! I just LOVE Halloween, it's always been such a MAJOR MAJOR part of my life ever since I was a little kid!! My mom and I use to stay up ALL NIGHT working on my Halloween costumes!! Even in my mid 30's it's just as important!!!

This weeks design team project for Regina at The Cutting Cafe was SO much fun!! We had the choice of ANY Halloween file!!!! Okay, so I have to warn you; I actually didn't choose a Halloween file for my base project. I chose to work with her House Shaped Card BUUUUT..... I turned it into a haunted house and used Halloween printable stamps to embellish! Here's the end result!!


AWESOME RIGHT!?!?! I LOVE IT!!! Okay so here's the breakdown; again, I used the House Shaped Card. It came with two full windows and the little arch-way window, but I decided to add three more windows!! I used the trim in the middle and shortened it to make trim under each window and the bricks for the steps under the door. The door was embossed with a Sizzix wood grain embossing folder and I used stickles for the door knob. The witch is from Pazzles Craft Room.


I used black glitter paper for her outfit and she had to have red glitter shoes!!! The ghosts, bats, fences and broom that is sitting against the cauldron are from The Cutting Cafe Halloween and Fall Colored Basic Images Printable Stamp Set. So I did actually use a Halloween file for this!! With those I converted them to an SVG file and loaded them into SCAL2. I like to build and size everything in there and have a complete rendering of the card before I start cutting. Like this:


Here's the ghosts:


The pumpkin trio is from Pazzles craft room and so is the cauldron. Again, the adorable broom is from The Cutting Cafe Halloween and Fall Colored Basic Images Printable Stamp Set.


And here is the inside:


And a close up:


I really hope you enjoy this card!!!  IT WAS SOOOO MUCH FUN to make!!!! I LOVE HALLOWEEN!!!!! Here it is again in case you want to look at it as much as I do!!! Hehehe


10.15.2013

WITCH'S WARTS!!!

Hello again fellow crafters!! This weeks project for Regina at The Cutting Cafe was a ton of fun!! We got to make pillow boxes!! We were able to do any theme and choose from Bunny Poop SetChristmas Pillow BoxSnowflake Pillow BoxAssorted Pillow Box or Halloween Pillow Box Set. I choose the Halloween Pillow Box.


I decided to do mine a little on the gross side!! I wanted it to be witch warts!! EWWWWW....hehe. 


I used a paper that looks like it has warts and I flipped the cut out on the box so I could cut it horizontally. I also added some spiders with red glitter glue to make them look like black widows! The spiders are from The Cutting Cafe Huge Spider Printable Stamp Set. I also used green peanut M&M's for the warts!! YUMMM!!!


Here's the back with more Spiders!!


And a close up of the poem!


This was a really fun project to make and my boyfriend thought it was really fun after taking the pictures to eat the warts!!! Hehehe! Hope you enjoy!!


10.11.2013

A Soccer Mom Card!

Hello again fellow crafters!! I wanted to share a card I was commissioned to make. One of my co-workers wanted a special card for his wife's birthday! She's a major soccer mom!!! Her two boys are amazing at soccer and she is having a blast getting into it as well and taking them to their different practices and games!


The names on the back of the jerseys are her two sons, her husband and their dog Bella! Complete with her own little dog bone! How cute!!! 


Of course, hers is the pink jersey and she's the referee!!  Kind of appropriate I thought anyway!!


Here's the inside. I found this really cool soccer ball font that worked great!!


Hope you enjoy!!!

10.08.2013

TRICK OR TREAT!!!

Hello fellow crafters!! Sorry I missed last week's project, I was in Texas for work. While I was there I had a chance to visit the Texas State Fair!! SOOO much fun!!! And lots of fried food....YUUUMM!!!

Here's a picture of some of my co-workers and me at the fair! I'm the tall one without the hat. The hat makers were working hard to glue on the Rhinetones as I waited!!! HEHEHE


While working in Texas my company introduced a new recognition program and I WON IT!!!! So it turned out to be a pretty great trip!! Although, I found myself thinking a few times, "I wish I brought my Cricut with me!" Hehehe


SOOO on to why you all came here....the project!!! This week for Regina at The Cutting Cafe we again had three files to choose from; Halloween Trio Printable Stamp SetA Bunch of Monsters Printable Stamp Set or Crazy Candy Corn Printable Stamp Set. I choose to work with the Crazy Candy Corn Set. I just LOVE IT!!!!


Now I changed it up a bit! I converted the candy corn mummy .pdf to an SVG file and loaded it into SCAL2. I enlarged it, flipped it and welded it... and VOILA.... a Halloween Card!!! I can't get over how cute this printable stamp set is and how much fun it was to work with!! I also converted the candy corn bat into SCAL2 and put him on a "leash." Don't want him to fly away!!! Now the boys are ready to go Trick or Treating!!!


Of course, the printable stamp set came with some super cute sentiments! I choose to use, "I know it's kinds corny, but I'm batty for you!" How cute!?!


In the mummy's other hand I added a Trick or Treat bag for some good candy stash!! I found this in the Pazzles Craft Room.


Here's the inside!


I hope you enjoy the card as much as I enjoyed making it!! Regina, I just LOVE your files!! They are SOOO much fun to work with!!!